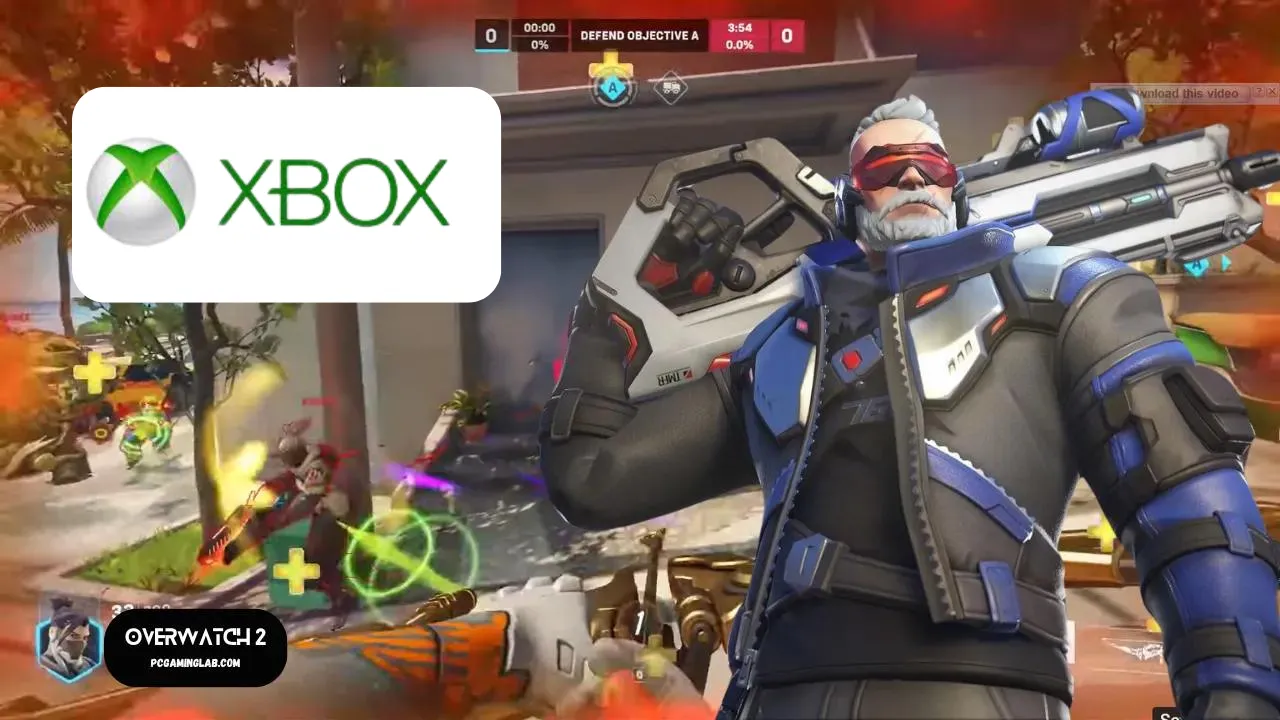
Exciting news for Xbox Game Pass subscribers! Overwatch 2 is joining Xbox Game Pass from September 17 to October 21, and with it comes a host of rewards, including Legendary Skins that you won’t want to miss.
If you haven’t connected your Xbox account to Battle.net yet, no worries! You can easily link them by following this guide, ensuring you’re all set to enjoy the action-packed gameplay and exclusive rewards.
To link your Battle.net account to an eligible Xbox Game Pass account, follow these steps:
1. Sign in to Battle.net
- Visit the Battle.net website and log in to your account. If you don’t have an account, you can create one for free.
2. Navigate to Account Settings
- Click on your profile icon in the top-right corner and select Account Settings from the dropdown menu.
3. Access the Connections Page
- On the left-hand menu, select Connections.
- Here, you’ll see various platforms you can link to your Battle.net account.
4. Link Your Xbox Account
- Scroll down to the Xbox Network section and click Connect.
- A new window will prompt you to sign in to your Xbox Live account.
5. Sign in to Your Xbox Game Pass Account
- Log in with the credentials for your Xbox Game Pass account (the same credentials as your Xbox Live account).
- Follow the on-screen instructions to grant permissions and link the accounts.
6. Verify the Connection
- Once connected, you should receive a confirmation, and your Xbox Game Pass benefits should now be available for eligible games that require a Battle.net account.
Don’t miss out on the Legendary Skin rewards and the excitement of playing Overwatch 2 with Xbox Game Pass. Follow the guide to easily connect your accounts and get ready for an epic gaming experience!
Leave a Reply