
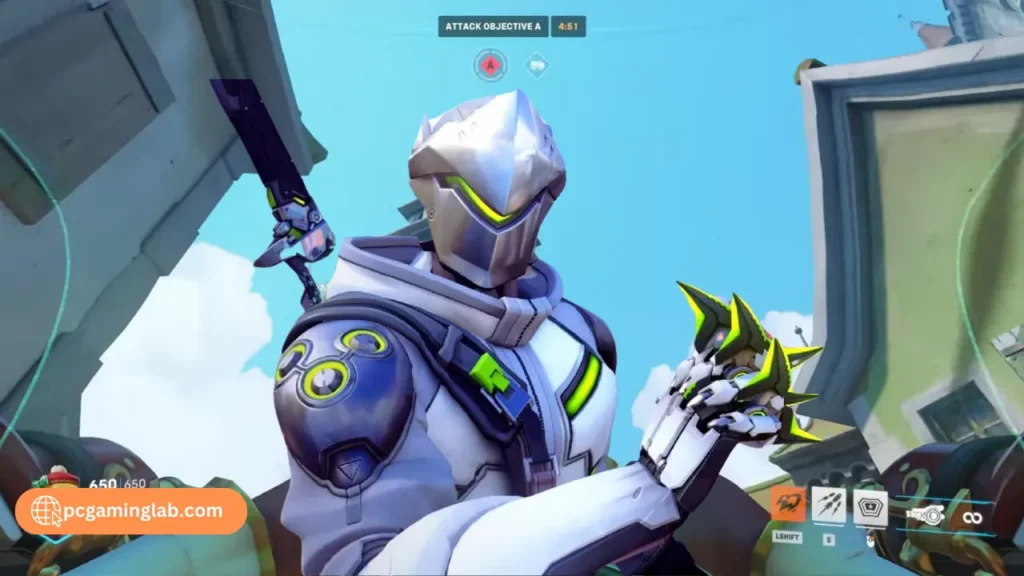
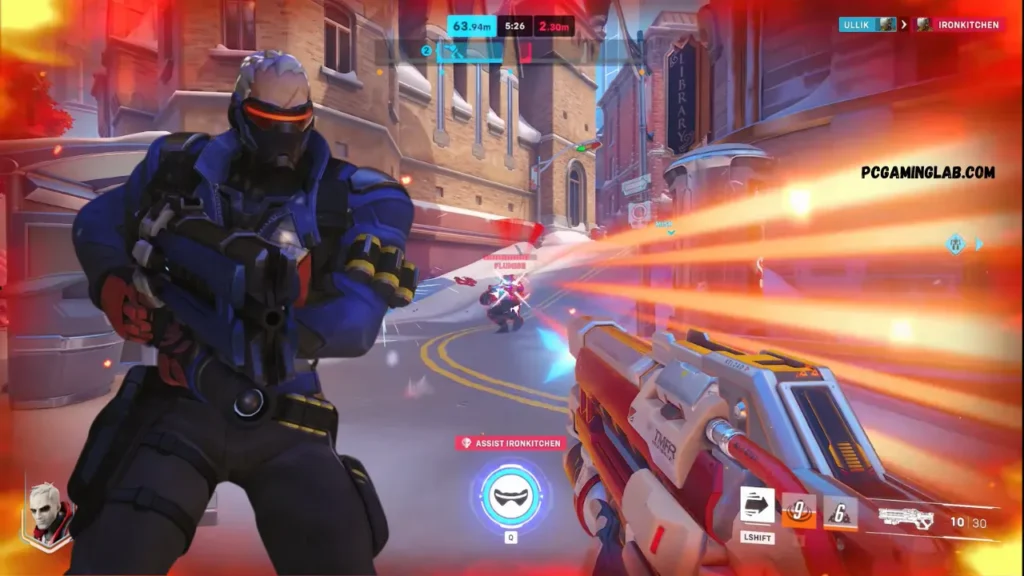
Twitch Drops for Overwatch 2 offers players a simple way to earn in-game rewards by watching live streams. This system is designed to enhance the viewing experience by rewarding players with exclusive items and bonuses.
To get Twitch drops for Overwatch 2, follow these steps:
- Create/Log into your Twitch account: If you don’t have a Twitch account, create one. If you already have one, log in.
- Link your Blizzard and Twitch accounts:
- Go to the Twitch Connections page.
- Find the Blizzard Battle.net section and click “Connect”.
- Follow the prompts to log into your Blizzard account and authorize the connection.
- Watch eligible streams:
- Find streams that have “Drops Enabled” in the title. These streams are usually from partnered or affiliated streamers during specific promotional periods.
- Watch the stream for the required amount of time. The specific time needed will be mentioned in the promotion details.
- Claim your drop:
- After watching for the required time, you’ll receive a notification in the Twitch interface.
- Click on the notification or go to the Drops Inventory page to claim your drop.
- Check your Blizzard account:
- The items should automatically appear in your Overwatch 2 account. Log into Overwatch 2 and check your inventory for the new items.
Note: Twitch drops are typically available during specific events or promotional periods. Make sure to stay updated on Overwatch 2’s social media and the official Blizzard website for announcements about upcoming drops.
For detail continue reading ……
..
- Create a Twitch Account:
- Visit the Twitch Website: Go to twitch.tv.
- Click “Sign Up”: You’ll find this option in the top-right corner of the homepage.
- Fill in the Required Information: Enter a username, password, date of birth, and email address.
- Verify Your Email: Twitch will send a verification email to the address you provided. Click the link in the email to verify your account.
- Log into an Existing Twitch Account:
- Go to the Twitch Website: Navigate to twitch.tv.
- Click “Log In”: This option is in the top-right corner of the homepage.
- Enter Your Credentials: Input your username and password.
- Click “Log In”: You should now be logged into your Twitch account.
For additional security, consider enabling two-factor authentication (2FA) in your account settings. This will require a verification code in addition to your password when logging in.
Link your Blizzard and Twitch accounts:
- Go to the Twitch Connections Page:
- Navigate to Twitch: Log in to your Twitch account and go to Twitch Connections.
- Find the Blizzard Battle.net Section:
- Scroll Down: Look for the section labeled “Other Connections”.
- Locate Blizzard Battle.net: Find the Blizzard Battle.net option within this section.
- Click “Connect”:
- Initiate the Connection: Click the “Connect” button next to the Blizzard Battle.net option.
- Follow the Prompts:
- Log into Your Blizzard Account: You will be redirected to a Blizzard login page. Enter your Blizzard account credentials (email and password).
- Authorize the Connection: Follow the on-screen instructions to authorize the connection between your Blizzard and Twitch accounts.
Once authorized, your accounts will be linked, allowing you to receive Twitch drops for Overwatch 2.
Watch Eligible Streams:
- Find Streams with “Drops Enabled”:
- Go to Twitch: Log into your Twitch account and navigate to the Overwatch 2 category by searching for “Overwatch 2” in the search bar.
- Identify Eligible Streams: Look for streams that have “Drops Enabled” in their title. This information is usually displayed prominently by the streamer.
- Check for Promotional Periods:
- Promotional Events: Be aware that Twitch drops are often tied to specific events or promotions. These events are usually announced on Overwatch 2’s official social media channels or the Blizzard website.
- Follow Official Channels: To stay updated, follow Overwatch 2 on platforms like Twitter, Facebook, and the official Overwatch forums.
- Watch the Stream:
- Duration Requirement: The required watch time to earn drops will vary based on the promotion. This information will be provided in the promotion details.
- Stream Interaction: Engage with the stream by chatting or following the streamer, as some promotions may require additional interaction.
- Monitor Your Progress:
- Twitch Drops Inventory: You can check your progress and see if you’re eligible for a drop by visiting the Twitch Drops Inventory page.
- Receive Notifications: Twitch will send you a notification when you’ve met the watch time requirement. Keep an eye out for these notifications to ensure you don’t miss your drop.
By following these steps, you can ensure that you are watching the correct streams and meeting the requirements to earn Twitch drops for Overwatch 2.

Claim Your Drop:
- Receive a Notification:
- Twitch Interface Notification: After watching the eligible stream for the required time, you will receive a notification in the Twitch interface. This notification will inform you that you have earned a drop.
- Email Notification: Sometimes, Twitch may also send an email notification to the address associated with your account.
- Claim Your Drop:
- Click on the Notification: If you see the notification in the Twitch interface, click on it to be taken to the Drops Inventory page.
- Go to the Drops Inventory Page: Alternatively, you can manually navigate to the Twitch Drops Inventory page by clicking on your profile icon and selecting “Drops” from the dropdown menu.
- Claim Your Drop: On the Drops Inventory page, find the drop you’ve earned and click the “Claim” button. This action will confirm that you want the item to be added to your linked Blizzard account.
Check Your Blizzard Account:
- Log into Overwatch 2:
- Open the Game: Launch Overwatch 2 on your gaming platform (PC, console, etc.).
- Login: Use your Blizzard account credentials to log into the game.
- Check Your Inventory:
- Access Your Inventory: Once in the game, navigate to the section where your rewards and items are stored. This could be in the “Hero Gallery”, “Player Icons”, or another relevant section depending on what type of drop you received.
- Verify Your New Items: Look for the new items you received through the Twitch drop. These should automatically appear in your inventory without needing any additional actions.
Tips and Troubleshooting:
- Refresh Your Inventory: If you don’t see the items immediately, try refreshing the game or logging out and back in.
- Account Linking: Ensure that your Blizzard and Twitch accounts are properly linked. You can double-check the connection in the Twitch Connections page.
- Event Timing: Some drops may take a little time to appear in your account, especially during high-traffic promotional periods. Be patient and check back later if necessary.
- Support: If you encounter any issues, contact Blizzard Support or refer to the Twitch Drops Help page for assistance.
How long does it take to get Twitch drops in Overwatch 2?
he time it takes to receive Twitch drops in Overwatch 2 can vary depending on several factors:
- Watch Time Requirements: Each Twitch drop promotion specifies a required watch time. This could range from 15 minutes to several hours, depending on the event.
- Claiming the Drop: After meeting the watch time requirement, you need to claim the drop in your Twitch Drops Inventory. The claim process is usually immediate once you click the “Claim” button.
- Account Synchronization: Once you claim the drop, it typically takes a few minutes to a couple of hours for the item to appear in your Overwatch 2 account. However, during peak times or major events, it might take up to 24 hours for the items to show up due to server load.
Steps to Ensure Quick Receipt:
- Watch the Required Streams: Ensure you are watching streams with “Drops Enabled” for the required amount of time.
- Claim the Drop Promptly: As soon as you receive the notification, claim your drop in the Twitch Drops Inventory.
- Check Account Linking: Make sure your Twitch and Blizzard accounts are correctly linked to avoid any delays.
- Wait and Refresh: If the items don’t appear immediately, wait for a bit and refresh your Overwatch 2 inventory. Logging out and back in can also help.
Why didn’t I get Twitch drops Overwatch 2?

If you didn’t receive Twitch drops for Overwatch 2, here are some potential reasons and steps to troubleshoot:
Possible Reasons
- Not Linked Properly:
- Your Blizzard and Twitch accounts might not be linked correctly.
- Watch Time Not Met:
- You may not have watched the required amount of time to qualify for the drops.
- Stream Eligibility:
- You might not have been watching an eligible stream.
- Claim Not Made:
- You may have forgotten to claim the drop from the Twitch inventory.
Steps to Troubleshoot
- Link Accounts:
- Go to the Blizzard Account Management page, and link your Twitch account under “Connections.”
- Watch Eligible Streams:
- Ensure you’re watching official Overwatch 2 streams or those participating in the drops program.
- Check Watch Time:
- Verify that you’ve watched the required duration to earn the drop.
- Claim Drops:
- Go to your Twitch inventory and claim the drops. Then log in to Overwatch 2 to receive them.
Additional Tips
- Internet Connection:
- Ensure your connection is stable while watching the streams.
- Support:
- If issues persist, contact Blizzard support for assistance.
For detailed guidance, refer to official Blizzard and Twitch support pages.

How to get drops enabled on Twitch?
To get Twitch drops enabled on your stream, follow these steps:
- Ensure Eligibility:
- Confirm that your game supports Twitch drops and that you’re participating in a drops campaign.
- Link Your Accounts:
- Connect your Twitch account to the game’s account (e.g., Blizzard for Overwatch 2). Go to the game’s website or Twitch settings to link them.
- Enable Drops on Twitch:
- Go to your Twitch Creator Dashboard.
- Navigate to “Viewer Rewards” > “Drops.”
- Enable drops for your stream.
- Stream the Eligible Game:
- Stream the game during the drops campaign period.
- Promote Your Stream:
- Let your viewers know drops are enabled to encourage them to watch.
For detailed information, visit Twitch Drops.
Why am I not receiving my Twitch drops?
If you’re not receiving your Twitch drops, here are some potential reasons and solutions:
- Account Linking:
- Ensure your Twitch and game accounts are correctly linked. Visit the game’s account management page and verify the connection.
- Watch Time:
- Confirm you’ve met the required watch time on eligible streams. Drops often require specific viewing durations.
- Claim Drops:
- Manually claim your drops in your Twitch inventory. Drops are not automatically added to your game account until claimed.
- Eligible Streams:
- Verify that the stream you’re watching is participating in the drops campaign.
- Check Notifications:
- Ensure you receive notifications for drops. Enable them in your Twitch settings.
For more detailed assistance, refer to the official Twitch Help page on missing drops.
Twitch Drops offer Overwatch 2 players an exciting opportunity to earn exclusive in-game rewards by simply watching eligible streams. By ensuring that their Twitch and game accounts are properly linked, watching the required amount of time, and claiming the drops in their Twitch inventory, players can enhance their gaming experience with unique items.
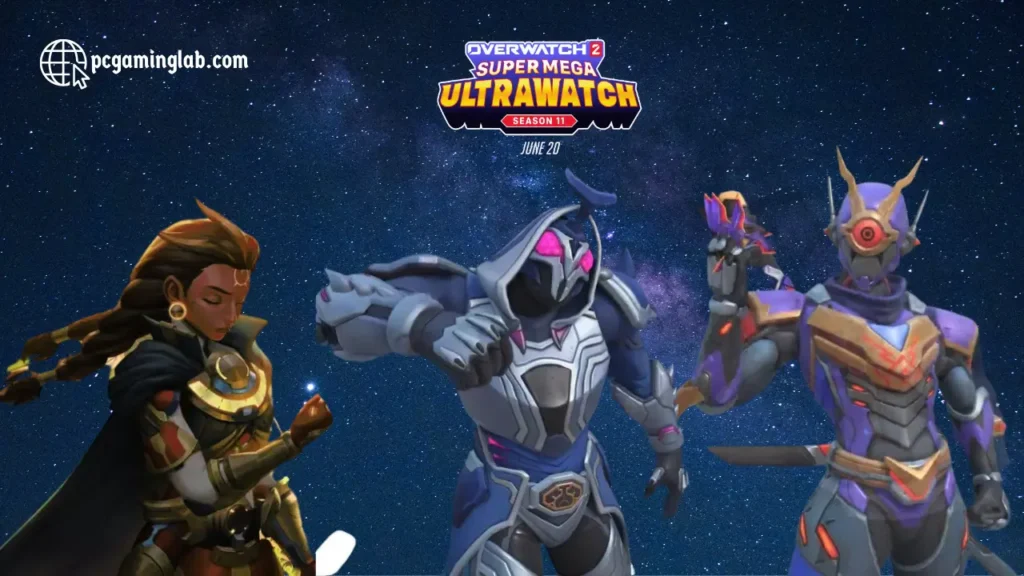
Staying informed about ongoing and upcoming drops campaigns can help players make the most of these opportunities, adding an extra layer of engagement and reward to their Overwatch 2 journey.
Leave a Reply